This page contains affiliate links. If you buy through them we may earn a commission at no extra cost to you.
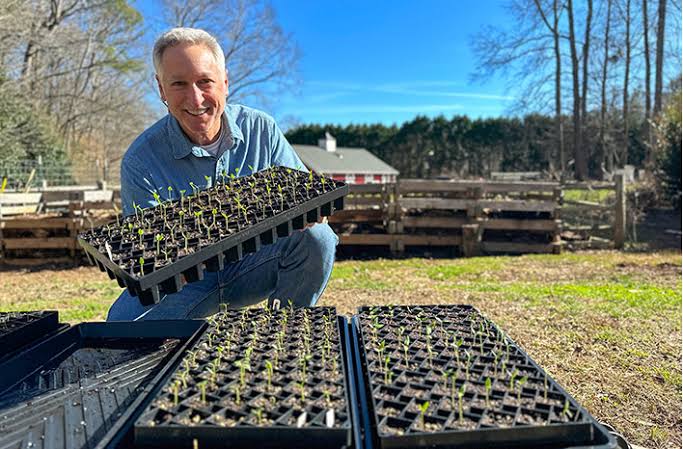
Using a seed starter tray is simple once you have done it once. Follow these steps from filling the cells to hardening off.
What you need
- Seed starter tray with cells and a base
- Seed starting mix
- Seeds, labels and a marker
- A dome or plastic wrap
- A light source and a gentle way to water
Step by step
- Wet the mix first. Pour mix into a bucket, add water gradually and stir until it feels like a wrung-out sponge. Dry mix is hard to wet evenly once it is in the tray.
- Fill the cells. Fill each cell to the top and tap the tray on the table to settle. Press lightly. Do not pack it down hard.
- Make planting holes. Use a pencil or your finger to make a shallow hole at the depth on your seed packet. See our planting depth chart.
- Sow two seeds per cell. It improves your odds if one seed does not sprout. Cover lightly with mix.
- Label everything. Add the variety and the date to each row or section.
- Cover and keep warm. Put on the dome. Set the tray where the soil stays warm enough for that crop. Do not put a closed dome in strong direct sun.
- Add light as soon as seeds sprout. Remove or vent the dome and give seedlings bright light.
- Thin to one seedling per cell. When seedlings have their first true leaves, snip the weaker ones at the soil line with scissors instead of pulling.
Watering tip: Water from below by adding water to the base tray and letting the cells soak it up. Remove any extra after about 15 to 30 minutes so the roots are not left sitting in water.
When seedlings are ready to move
Most seedlings are ready for transplanting when they have two or three sets of true leaves and roots hold the soil together. About a week or two before planting outside, start hardening them off: put them outside for a few hours a day, in the shade at first, and increase the time and sunlight gradually.
Troubleshooting
- Tall, thin, floppy seedlings (leggy). Not enough light. Move the light closer or increase brightness.
- Fuzzy mold or seedlings collapsing at the base. Often damping-off, caused by too much moisture and poor airflow. Water less, vent the dome and keep trays clean. A small fan on low helps.
- Nothing sprouting. Check seed age, soil temperature, moisture and depth. Very old seed loses viability.
- Tiny flying insects. Fungus gnats like constantly wet soil. Let the surface dry between waterings.
Need a tray to get started?
Compare seed starter trays and pick one that suits what you are growing.
Browse seed starter trays on Amazon